Garage door opener parts are designed to withstand thousands of open-and-close cycles, but they still need regular maintenance to last over time. Without it, even the most durable components will start to wear down faster than they should, and the damage rarely stops at just one part.
Skipping maintenance on your garage door openers might seem harmless at first, but small issues that go unaddressed often turn into expensive problems. This guide covers everything you need to know to properly maintain each part of your system and keep it running strong all year long.
What Should You Know About Your Garage Door Opener Before You Maintain It?
Every part inside a garage door opener has a specific job, and understanding what each one does before you start maintenance gives you a real advantage when something is not working the way it should.
| Component | What It Does | Why It Matters for Maintenance |
| Motor Unit | Powers the entire operation and connects to the door through the drive system | Needs to be kept clean and free of dust buildup to avoid overheating |
| Chain Drive | Transfers power from the motor to the trolley using a metal chain | Requires regular lubrication to prevent rust and reduce noise |
| Trolley | Slides along the rail and physically moves the door up and down | Should be inspected for wear since it absorbs stress from every cycle |
| Photo Eyes | Send an invisible beam across the opening and stop the door if the beam is broken | Need to be wiped clean and checked for alignment on a monthly basis |
| Limit Switches | Tell the motor when to stop at the fully open or closed position | Should be tested regularly to confirm the door stops at the correct points |
| Rollers and Hinges | Keep the door panels moving smoothly along the vertical tracks | Need lubrication twice a year to reduce friction and prevent premature wear |
| Remote and Keypad | Send signals to the motor unit to trigger opening and closing | Require fresh batteries and occasional reprogramming to stay responsive |
| Bottom Roller Brackets | Hold the lowest roller in place and absorb the most mechanical stress | Should be inspected frequently since they are the first to show signs of wear |
To get a complete picture of every component in this guide, read our full breakdown on What Are the Parts of a Garage Door Opener?, which walks through each part of the system in detail.
Why Does Regular Maintenance of Your Garage Door Opener Matter?
Neglecting your garage door opener parts does more than hurt performance, it shortens the life of the entire system faster than most expect.
- Regular lubrication slows down wear on rollers, hinges, and springs significantly
- Routine inspections catch loose hardware and misaligned sensors before they cause a failure
- A well-maintained opener motor experiences less strain on every single cycle
- Consistent upkeep lowers the average cost of repairs and replacements over time
- Extreme weather conditions put extra stress on parts, making maintenance even more critical
Skipping garage door opener maintenance is one of the fastest ways to turn a minor issue into a costly repair that pulls the entire system down with it.
How Often Should You Maintain Your Garage Door Opener Parts?
The frequency of maintenance depends on the task, and each component in your garage door opener parts system has its own schedule.
Here is a breakdown of how often each task should be done:
| Frequency | Maintenance Task |
| Monthly | Test the auto-reverse feature and inspect the photo eyes for dirt and alignment |
| Every Six Months | Lubricate rollers, hinges, and garage door springs, replace garage door opener remote and keypad batteries, and check all bolts and screws along the rail and door panels |
| Annually | Perform a full balance test, inspect torsion springs for rust or wear, and have a professional check the full overhead door system |
A consistent maintenance schedule keeps small issues from compounding into bigger, more expensive problems over time.
What You Need Before You Start Maintaining Your Garage Door Opener
Having the right supplies ready before you start prevents accidental damage and keeps the entire process running without interruption.
Here is what you need to have on hand:
- White lithium grease or silicone-based lubricant for hinges, rollers, and springs, since WD-40 attracts dirt and causes buildup
- A soft microfiber cloth for wiping down sensor lenses and track surfaces
- A socket wrench and screwdrivers for tightening loose bolts and hardware
- A step ladder to safely reach the motor unit and upper rail components
- Replacement batteries for your remote controls and garage door opener keypad
Getting all of this together before you begin saves time and helps you complete each task without interruption.
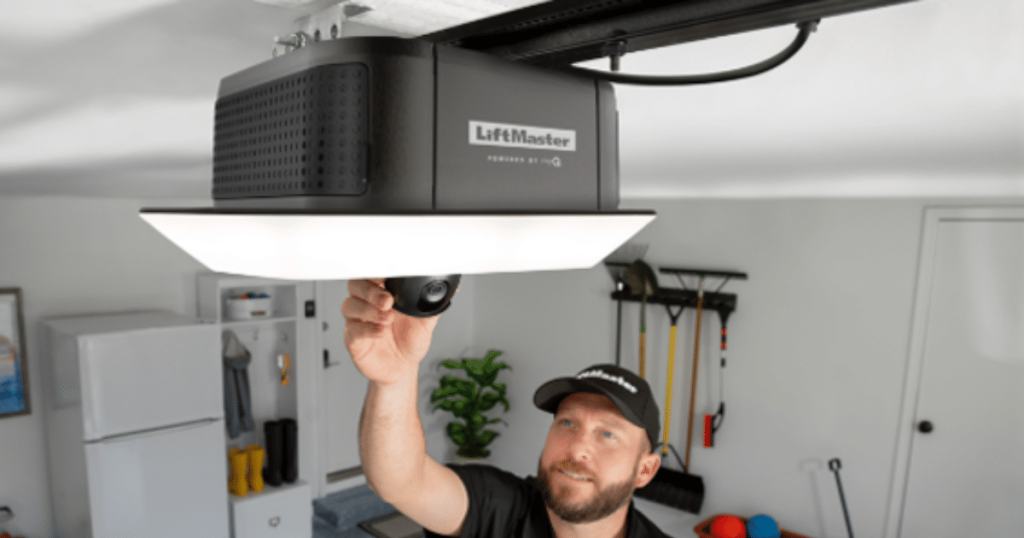
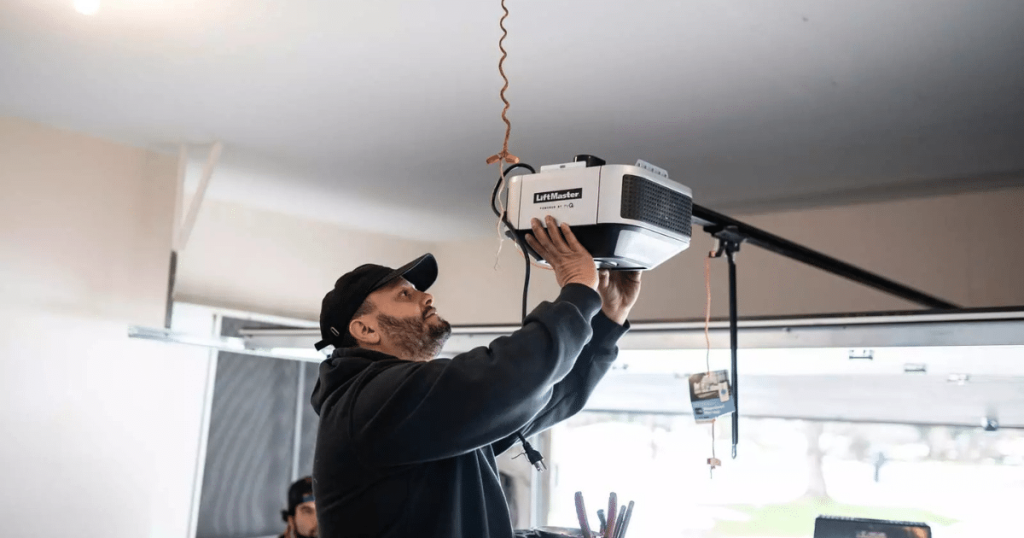
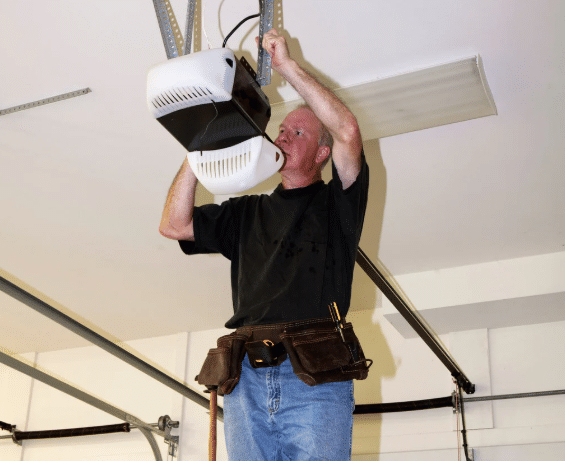
How to Maintain Your Garage Door Opener Parts the Right Way
Lubricate Moving Parts Twice a Year
White lithium grease or silicone-based lubricant applied twice a year keeps every moving component in your garage door opener parts running with minimal friction.
Apply lubrication to these components every six months:
- White lithium grease or silicone spray works best on hinges, rollers, and springs
- The rail where the trolley slides needs lubrication along its full length
- Wipe away excess lubricant after applying to keep dirt from sticking to the surface
- Tracks must stay clean and dry since lubricating them causes rollers to slip
- Performing this task at the start of spring and fall covers both extreme weather seasons
Skipping proper lubrication accelerates wear on rollers, hinges, and springs faster than any other form of neglect.
Test the Auto-Reverse Safety Feature Monthly
Confirming that the auto-reverse feature responds correctly every month keeps your opener operating within its intended design parameters.
Run through these steps every month:
- Place a solid 2×4 block flat on the ground in the center of the doorway
- Press the close button and watch the door as it travels downward
- Proper function means the door reverses the moment it contacts the object
- Failed reversal means the sensitivity settings need immediate adjustment
- Auto-reverse testing is a separate process from photo eye sensor testing and must be done independently
A failed reversal test is a direct indicator that the opener’s force settings have shifted and need recalibration.
Clean and Align Your Garage Door Opener Sensors
Dirty or misaligned garage door opener sensors are one of the most common reasons an opener stops responding correctly during the closing cycle.
Focus on these key points during every sensor check:
- Wipe both sensor lenses with a soft, dry cloth to remove dust, dirt, and cobwebs
- Confirm both sensors are aimed directly at each other with no objects blocking the beam
- Steady green or amber indicator lights on both sensors confirm proper alignment
- Blinking or red indicator lights signal misalignment or an obstructed beam path
- Accidental bumps to the brackets are the most common cause of recurring misalignment
Consistent sensor cleaning and alignment checks keep the photo-eye system accurate and reduce the need for garage door repair caused by simple dirt buildup.
Tighten Loose Hardware and Bolts
Vibration from daily operation gradually loosens the hardware that holds your garage door system together, and regular maintenance keeps the entire structure stable.
Pay close attention to these areas during each hardware check:
- Inspect all bolts and screws along the tracks, rail, and mounting brackets for looseness
- A socket wrench handles most tightening without requiring specialized tools
- Bottom roller brackets take the highest stress and should always be checked first
- The majority of the hinges along the door panels can be tightened with a standard wrench
- Overtightening strips the threads and weakens the bracket, so stop once resistance is firm
Working through the hardware from the bottom roller brackets upward ensures the most stressed points are addressed first.
Clear and Clean the Tracks Regularly
Built-up debris in the track channel is a leading cause of uneven door movement throughout the overhead door system.
Keep the tracks in good condition with these steps:
- Wipe the inside of both vertical and horizontal tracks with a damp cloth
- Remove built-up dirt, grease, or debris that causes rollers to drag mid-travel
- Inspect for dents or bends that may be affecting the smoothness of movement
- Vertical sections must be perfectly plumb, and horizontal sections must be level
- Tracks perform best when kept clean and dry since lubricant causes rollers to lose traction
Clean tracks reduce the load on the opener motor and allow rollers to complete each cycle without resistance.
Check Your Garage Door Balance
An unbalanced door places an uneven load on the drive system, and the opener motor absorbs most of that extra stress during every single cycle.
Follow these steps to test door balance accurately:
- Pull the red emergency release cord to disconnect the opener from the door
- Lift the door manually to about waist height and release it without holding on
- A balanced door holds its position without drifting upward or dropping downward
- Upward drift or downward drop after release points to incorrect spring tension
- Garage door springs under improper tension must only be adjusted by a trained technician
Door balance directly reflects the condition of the spring system, and any imbalance left unaddressed puts consistent strain on the garage door opener motor unit.
Common Signs of Poor Maintenance and What They Mean
Ignored maintenance does not stay hidden for long, and your garage door opener parts will always show the evidence first.
Watch for these warning signs:
- Grinding or squeaking sounds point to dry rollers, hinges, or springs
- Slow or hesitant door movement indicates dirty tracks or a worn trolley
- Door reversing without obstruction signals dirty or misaligned photo eyes
- Rattling hardware means bolts and screws have loosened from vibration
- Visible rust on springs or rollers confirms that lubrication has long been neglected
To identify what these signs indicate about the condition of specific parts, read our guide on Signs Your Garage Door Opener Parts Need Repair, which covers the most common indicators that a part has moved past routine upkeep.
Should You Maintain It Yourself or Call a Professional in Aledo, TX?
Knowing where the line is between routine upkeep and professional work saves you time and keeps you out of situations that require specialized training.
| Factor | Do It Yourself | Call a Professional |
| Risk Level | Low-risk tasks with no mechanical tension involved | High-risk components under extreme tension or electrical load |
| Tools Required | Basic tools like a wrench, screwdriver, and a soft cloth | Specialized equipment not available to most homeowners |
| Technical Knowledge | Visual checks, cleaning, and simple adjustments | Diagnostics, calibration, and structural repairs |
| Components Involved | Sensors, batteries, bolts, and lubricant application | Torsion springs, cables, drums, and motor unit repairs |
| Consequence of Error | Minor inconvenience with easy correction | Risk of injury, property damage, or full system failure |
High-tension components, specialized equipment, and high-consequence repairs always call for a trained garage door opener repair technician.
How Maintenance Prevents Costly Garage Door Opener Repairs and Replacements
Regular maintenance is what keeps every garage door opener part performing at the level it was built for, well beyond what a neglected system can manage.
Here is how maintenance prevents damage across the system:
- Lubricating rollers and hinges twice a year reduces friction and slows wear
- Monthly auto-reverse testing confirms force settings are still calibrated
- Regular photo eye cleaning keeps the sensor beam accurate every cycle
- Consistent hardware tightening stops vibration from loosening the rail
- Annual balance checks distribute spring tension evenly across the system
To find out when maintenance is no longer enough to keep a part functioning, read our guide on When to Replace Your Garage Door Opener Parts, which identifies the specific conditions that make replacement the more practical decision.
Maintain Your Garage Door Opener Parts the Right Way With Expert Help
Every garage door opener is built from individual parts that each play a specific role, and understanding what they are helps you make better decisions about your system. Knowing what to inspect, when to act, and what to watch for keeps your opener performing the way it was designed to for years to come.
Tcamm Door & Gate has been helping Aledo, TX, homeowners get the most out of their garage door opener parts through honest inspections, accurate diagnostics, and reliable garage door services. Contact us or give us a call today, and let our team assess what your system needs to keep every part running at its best.
Frequently Asked Questions
Can dirty sensors cause my garage door opener to stop working completely?
Yes. Dirty sensors block the infrared beam, which signals the opener to stop the closing cycle entirely. Regularly wiping the lenses clean is one of the simplest ways to keep the system responding correctly.
What is the best way to find parts for a garage door opener that matches my existing unit?
Check the label on your motor unit for the brand, model number, and serial number before searching for parts for a garage door opener. Using that information ensures you get components that are fully compatible with your existing system.
How do I know if my garage door opener remote needs to be replaced or just reprogrammed?
Start by replacing the batteries and testing the remote from different distances. If the opener still does not respond after a fresh set of batteries and a reprogramming attempt, the remote itself likely needs to be replaced.
Is it normal for garage door opener parts to make noise during operation?
Soft operational sounds are normal, but grinding, rattling, or squeaking are not. Those sounds indicate that specific components need lubrication, tightening, or closer inspection.
How do I find replacement parts for my garage door opener that are compatible with my model?
Look up your opener's model number on the manufacturer's website to confirm which garage door opener replacement parts are approved for your unit. Using compatible parts ensures the system continues to operate as intended without stressing surrounding components.
Can I perform garage door opener maintenance without any prior technical experience?
Yes. Basic tasks like wiping sensors, replacing batteries, tightening bolts, and applying lubricant require no technical background. Anything involving springs, cables, or motor diagnostics should always be handled by a trained technician.
How do I know when my trolley needs to be inspected or replaced?
Watch for hesitation mid-cycle, unusual resistance during operation, or visible wear on the trolley carriage itself. A trolley that no longer moves smoothly along the rail is a sign that it needs professional attention.
Where can I find garage door opener parts near me for routine maintenance needs?
Searching for garage door opener parts near me can help you locate local suppliers that carry the components you need for routine upkeep. For brand-specific parts, a local garage door service provider is always the better option.
What is the difference between maintaining a chain drive and a belt drive opener?
Chain drives require more frequent lubrication due to the metal-on-metal contact of the chain and sprockets. Belt drives require less frequent attention but should still be inspected regularly for belt tension and wear.